Auto-deploy is one of the great features of Netlify and Vercel. Whenever you push to main... done! Your site builds automatically. I love that, but I prefer to manage my own server.
I mean, those platforms are great, but I don't want to worry about surpassing the free tier usage and receiving a big bill just for hosting my static site. If I suddenly have tons of traffic, it's most likely a random DDoS instead of one of my posts going viral (prove me wrong by sharing the post if you like it!).
So, how can we setup a similar auto-deploy on a virtual private server? Well, we can use GitHub Actions: a powerful way to automate development workflows. Today we'll create a workflow that will build our site and copy it into the production server, on any push to main.
The best part? The web server won't have to run npm install nor host the node_modules folder. It will receive the static site, already generated. So, just a few MB of HTML, JavaScript, and CSS.
The best best part? We can run up to 1,000 minutes of GitHub Actions per month for free, which is way, way more than we need to deploy a static site that changes, at most, once per day.
In this guide, I'll walk you through exactly how to do it, step by step. We'll use Nuxt, but you can adapt the code for Vue, Astro, React, or any other framework that creates a static site or SPA.
The Workflow File
Setting up a GitHub action is quite straightforward. We need to create a .github directory in the root of our repository. Inside, we'll have a workflows directory, where we'll store YAML files with the workflow configuration.
For our goal, we'll only need one workflow. So, in .github/workflows/deploy.yaml, you can store the following content. We'll explore what each of these sections means throughout this article.
For now, just know that in our case, the static website is located in the /var/www/project/website folder on the server. You can adjust this workflow to match the correct directory for your server.
name: Deploy to DigitalOcean

on:
    push:
        branches:
            - main

jobs:
    deploy:
        runs-on: ubuntu-latest
        steps:
            - name: Checkout Code
              uses: actions/checkout@v4

            - name: Setup Node.js
              uses: actions/setup-node@v4
              with:
                  node-version: '22'

            - name: Create .env File
              run: echo "${{ secrets.ENV }}" > .env

            - name: Install Dependencies and Build
              run: |
                  npm install
                  npm run generate

            - name: Compress Build Folder
              run: |
                  cd ./.output
                  tar -czvf build.tar.gz ./public

            - name: Copy to Server
              run: |
                  cd ./.output
                  echo "${{ secrets.SSH_PRIVATE_KEY }}" > id_rsa
                  chmod 600 id_rsa
                  scp -o StrictHostKeyChecking=no -i id_rsa build.tar.gz ${{ secrets.DROPLET_USER }}@${{ secrets.DROPLET_IP }}:/var/www/project/build.tar.gz

            - name: Extract Build Folder On Server
              run: |
                  cd ./.output
                  ssh -i id_rsa -o StrictHostKeyChecking=no ${{ secrets.DROPLET_USER }}@${{ secrets.DROPLET_IP }} << 'EOF'
                  cd /var/www/project
                  tar -xzvf build.tar.gz
                  rm build.tar.gz
                  mv website website_old
                  mv public website
                  rm -rf website_old
                  EOF
The Workflow File Explained
Let's examine each section of the workflow file:
Trigger Configuration
name: Deploy to DigitalOcean

on:
    push:
        branches:
            - main
This section gives the workflow a name and defines when it should run—specifically, when code is pushed to the main branch. Every push to that branch will trigger the deployment, while pushes to any other branch will not.
The Deploy Job
jobs:
    deploy:
        runs-on: ubuntu-latest
After the name and trigger configuration, we define the jobs we need to run. In our case, we need a single job called deploy. The runs-on property determines the type of environment required—in this case, the latest Ubuntu runner provided by GitHub. GitHub Actions uses these virtual environments to execute workflow steps. You can think of this as creating a fresh Ubuntu installation that runs the job and is then destroyed.
Step 1: Checkout the Code
steps:
    - name: Checkout Code
      uses: actions/checkout@v4
Alright, first step! This uses the official checkout action to fetch your repository's code into the runner. It's essentially equivalent to a git clone operation. By default, it places all repository files in the root directory of the workflow runner, making them immediately accessible to subsequent steps.
Step 2: Install Node
- name: Setup Node.js
  uses: actions/setup-node@v4
  with:
      node-version: '22'
The actions/setup-node@v4 is an official GitHub action that handles the installation and configuration of Node.js in your workflow environment. Without this step, your runner would either have no Node.js installed or would use whatever default version is pre-installed on the Ubuntu runner (which might not match your application's requirements).
The with: section specifies parameters for the action, and node-version: '22' tells the action specifically which version of Node.js to install.
Step 3: Create env File
- name: Create .env File
  run: echo "${{ secrets.ENV }}" > .env
Now, our application might rely on environment variables, typically stored in an .env file. Since this file isn't part of our repository, it won't exist in the runner's environment. If the build process depends on the .env file, we need to create it first.
How can we do that? In a conventional development workflow, you might create the .env file manually. But in an automated CI/CD pipeline, you need a secure way to provide these values without exposing them in your code repository.
This is where GitHub Secrets come in. When you store a value as a GitHub Secret (in this case, a secret named ENV), it's encrypted and only accessible during workflow execution. The secret isn't visible in logs, and even users with repository access can't view its content directly.
You can manage your repository's secrets from the GitHub dashboard. In this case, we store exactly what we need for the .env file in an ENV secret:
NUXT_PUBLIC_SITE_URL=https://project.com
POSTHOG_API_HOST=https://us.i.posthog.com
POSTHOG_API_KEY=XXXXXXXXXXXXXXXXXX
The command echo "${{ secrets.ENV }}" > .env writes the contents of the ENV secret into a new .env file in the root of your project directory. Perfect! Let's continue.
Step 4: Generate the Static Site
- name: Install Dependencies and Build
  run: |
      npm install
      npm run generate
Here, the workflow runs npm install to install all the Node.js dependencies. Then, it runs the generate script defined in our package.json, which compiles the code and generates all the static files for our website, storing them in the .output/public directory.
Step 5: Compress the Files
Great! We have our static site generated. Now, we need a way to move those files to a public server so they are accessible on the internet. Remember, the runner's environment is temporary and gets destroyed as soon as the workflow completes, so we must export our site files to a permanent location. To do this efficiently, let's compress them into a single archive:
- name: Compress Build Folder
  run: |
      cd ./.output
      tar -czvf build.tar.gz ./public
Here, the workflow navigates to the .output directory and creates a compressed tarball (build.tar.gz) of the public directory. Compressing the files makes the transfer to your server faster and more reliable.
Step 6: Copy the Compressed Files to the Server
We are in the final stretch: we need to move our compressed files to the web server and extract them. This step handles the first part.
How can we copy a file between servers? In Linux, we can use the scp command, which stands for "secure copy". It takes two main parameters: the path of the local file and the path of the destination. For example, to copy build.tar.gz into the /var/www/my-site folder on a server with the IP 192.168.123.45, using the user myuser:
scp build.tar.gz myuser@192.168.123.45:/var/www/my-site
Now, the server will ask for authentication—otherwise, anyone could upload files to our server, and we definitely don't want that! To authenticate our deployment process securely, we'll use an SSH key.
An SSH key consists of two parts: a public key and a private key. Think of the public key as a lock installed on your server's door, while the private key is the unique key that opens that specific lock. The public key will live on the server, and the private key stays securely on the machine attempting to connect to it (in this case, our GitHub Actions runner).
Here's how you can create and setup an SHH key, step by step:
Generate an SSH key on your local computer:
ssh-keygen -t ed25519 -C "your-email@example.com"
Press Enter to accept the defaults. For automation purposes like GitHub Actions, we typically won't set up a passphrase. This creates two files: a public key (stored in ~/.ssh/id_ed25519.pub) and a private key (in ~/.ssh/id_ed25519).
View and copy the public key to your clipboard:
cat ~/.ssh/id_ed25519.pub
This command will output the public key. Copy it to your clipboard. The output will look something like:
ssh-ed25519 AAAAC3N...6OdN/x8L1fgmt your-email@example.com
Add the public key to your DigitalOcean droplet:
- Go to DigitalOcean Dashboard → Settings → Security
- Click Add SSH Key, paste the public key, and save.
- Alternatively, you can add it directly to your server's
~/.ssh/authorized_keysfile.
Set up the private key and connection details in GitHub:
- Go to your GitHub repository → Settings → Secrets and variables → Actions
- Add the following repository secrets:
SSH_PRIVATE_KEY: The entire contents of your private key file (~/.ssh/id_ed25519)DROPLET_IP: Your DigitalOcean droplet's IP address (e.g.,123.456.789.0)DROPLET_USER: The username you use to log into your server (e.g.nico)
Now it's time to copy our site to the web server using scp. Here's the code for that step:
- name: Copy to Server
  run: |
      cd ./.output
      echo "${{ secrets.SSH_PRIVATE_KEY }}" > id_rsa
      chmod 600 id_rsa
      scp -o StrictHostKeyChecking=no -i id_rsa build.tar.gz ${{ secrets.DROPLET_USER }}@${{ secrets.DROPLET_IP }}:/var/www/project/build.tar.gz
This critical step transfers our build to the DigitalOcean server:
- It changes the current directory to
.output, where ourbuild.tar.gzis stored. - It creates a temporary SSH key file from the
SSH_PRIVATE_KEYsecret. - Sets the correct permissions on the key file:
600, which grants read and write access for the owner only. - Uses
scpto transfer the compressed build file to the server. - The
-o StrictHostKeyChecking=nooption skips the host verification prompt.
Step 7: Uncompress Files
We are almost there! If the previous step was successful, the build.tar.gz should be stored on our server. There are just a few things left to do:
- Uncompress
build.tar.gz, which will create apublicfolder. - Remove the compressed file (just to keep things clean).
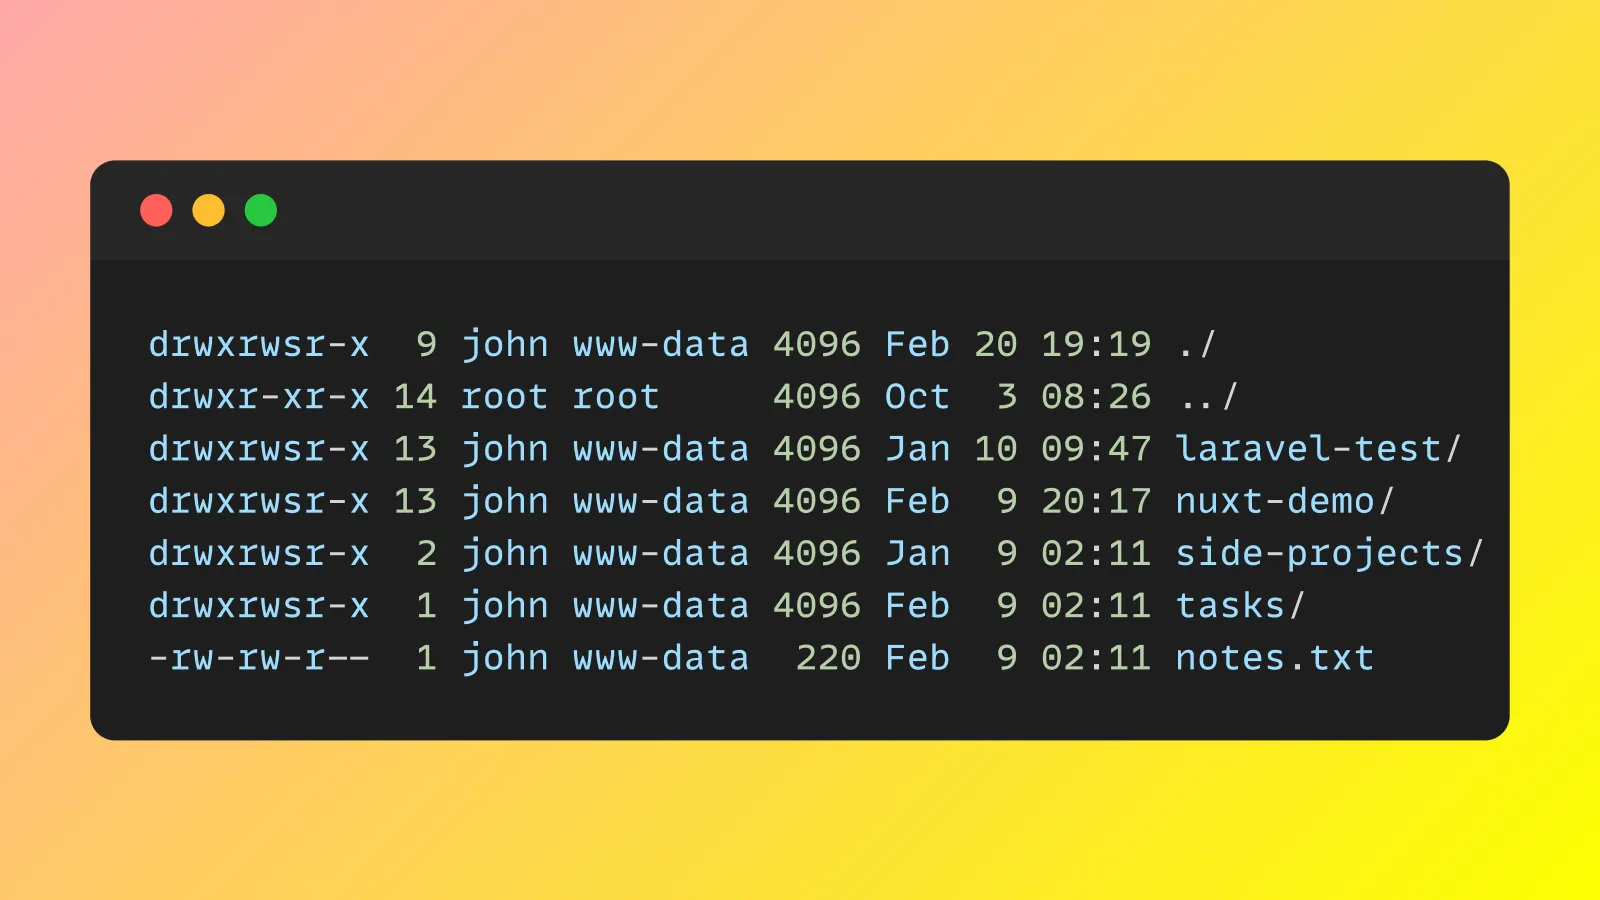
- Rename the directories: the old website version folder should be renamed
website_old, and thepublicfolder will be renamedwebsite. - Remove the
website_oldfolder (again, to keep things clean). You can decide to keep it for a while in case you need to roll back if something goes wrong.
We need to execute this chain of commands on the web server. To do so, we can use ssh to establish an SSH connection to the server using the key file we created in the previous step, id_rsa. Then, we can pass the commands to execute in a string using heredoc (<< 'EOF').
- name: Extract Build Folder On Server
  run: |
      cd ./.output
      ssh -i id_rsa -o StrictHostKeyChecking=no ${{ secrets.DROPLET_USER }}@${{ secrets.DROPLET_IP }} << 'EOF'
      cd /var/www/project
      tar -xzvf build.tar.gz
      rm build.tar.gz
      mv website website_old
      mv public website
      rm -rf website_old
      EOF
This approach creates a seamless deployment by swapping directories rather than overwriting files, minimizing downtime.
What Makes This Workflow Effective
- Security: All sensitive information is stored as GitHub secrets
- Zero Downtime: The site remains available during deployment with the directory swap technique
- Automation: The entire process runs automatically on every push to main
Required GitHub Secrets
For this workflow to function, you need to configure these GitHub secrets:
ENV: Your application's environment variablesSSH_PRIVATE_KEY: The private SSH key for accessing your serverDROPLET_IP: Your DigitalOcean droplet's IP addressDROPLET_USER: The username for SSH access to your server
Conclusion
This GitHub Action workflow creates a robust CI/CD pipeline that automatically builds and deploys your application to DigitalOcean whenever you update your main branch. It manages environment variables securely, ensures a smooth deployment process, and minimizes potential downtime.
It will save you valuable time, letting you focus on what's most important: developing your app.
Want more GitHub Actions tips and tricks? Let me know. Until next time!